Set Up Kodi For Mac
New to Kodi? Looking for a refresh in information? Check out our complete 2018 Kodi setup guide for information on how to set things up on Android, Amazon Fire, Windows, Mac, Linux, and any other supported operating system. This is intended for new and inexperienced Kodi users who might not know some of the tricks to get a fully functional Kodi setup with minimal effort!
Are you new to the world of Kodi? Looking for a complete Kodi setup guide to help you get started? This is a complete guide intended to help you better understand Kodi, access content, and turn it into your own personal media center.
811 ata atapi device usb device drivers. Please be aware that HP does not guarantee Windows 10 drivers will be available from Windows Update.- This is a HP USER community forum.-BTW, Millions of folks have gone back from Win10 to their prior O/S - something you don't hear about from MS.
Never, EVER spend extra money from these so called Kodi “experts” who promise to get your premium add-ons and skins for a discounted price. Those people are doing exactly what I’m about to show you and cannot provide you any special Kodi setup that you can’t get yourself.
If you are in the market for a new Kodi box, check out our store page by clicking here. We’ve hand-picked some of our favorite Kodi boxes for you to try out!
NOTE: If you are more advanced than this guide and were looking for information on how to reset Kodi back to default installation, check out our Kodi Fresh Start guide for more information.
Step 1: How to Install Kodi
Mainly written in C Core, KODI is an open-source media player software application developed by the KODI Foundation, initially released in 2002-2003. Keeping home entertainment in mind, the first thing comes up is the KODI software. This software is the perfect thing if you are a movies, films, TV shows enthusiast. Complete KODI setup wizard for PC is.
Android
If you bought an Android TV box, Kodi is most likely already installed for you. You can find the “K” Kodi icon on the home screen of your Android box and click on it to launch the application right away. If you don’t have Kodi installed on you Android box, the steps are very easy. As well, if you want to completely start fresh in Kodi, you can uninstall the application and use the steps below to re-download a fresh copy.
- Launch the Google Play Store rom your Android TV home screen. Login or create a Gmail account in order to access the store.
- Use the Search bar to find “Kodi”.
- Click on the Kodi icon from the search results and then click on Install. After Kodi has finished installing, you can either open it right from this screen or find Kodi on your Android TV Apps menu.
Other Operating Systems (Windows, Mac, Linux, etc)
For other operating systems, the procedure on how to install Kodi is virtually identical.
- Visit the official Kodi website at kodi.tv and then click on the Downloads page.
- Select your operating system and then click on the Download button that applies to you.
- After Kodi has finished downloading, find the executable package in you Downloads folder. Double click on it to launch the installer and follow the install steps on the screen.
- After Kodi has finished installing, it will be found in your Applications area.
Step 2: Install a Kodi Skin (Optional)
The first step you may want to take in Kodi is installing a Kodi skin. A skin changes the look and feel of your system with different graphics and design, as well as customized menus. The Estuary skin introduced as the default in Kodi 17 is fairly high powered and simple to use, so this step is not mandatory. For ease, all of the guides on our site assume that you are using Estuary, so be aware that a different skin may change the look and location of key menus.
If you do want to check out a new skin, we’ve put this step first, so that you can get used to where menus are when you install addons in the next step.
All links are interchangeable, you can download different parts on different hosts Request a game or request re-upload, visit Game Request If you need help a problem, visit F.A.Q. Link MegaUp.net. Read fate hollow ataraxia. Overview Fate Hollow: Fate Hollow Ataraxia is based on the visual novel and is a sequel to the Fate/Stay Night. The story has been set in Fuyuki City. Bazett Fraga is a member of the Mages Association and a master in Fifth Holy Grail War. She along with her friend Avenger set off to fight and win the war. Fate/Hollow Ataraxia Bazett Fraga McRemitz, a member of the Mages’ Association and a master in the 5th Holy Grail War, wakes on the fourth day of the 5th Holy Grail war with a new servant, Avenger, and no memory of what happened to her beforehand. Solve Captcha to see links and eventual Password.; Report Expired Files/Missing Parts; Use latest Winrar to extract the first part and get the iso/rom.; There is no Vita emulator. You can only use this with a hacked Vita.
Kodi comes with a wide selection of skins to try out. We have featured a few of these skins and have provided tips for installing and configuring them with your Kodi setup. Check out some of our recommended skins below:
The best way to become familiar with your Kodi setup is by using it and getting comfortable with how the interface behaves.
We don’t recommend installing a pre-made build because you don’t learn anything. Kodi is not a plug-and-play, set it and forget it kind of software. It often requires the installation and deletion of specific addons in order to keep things running smooth. Most Kodi builds are loaded with a bunch of outdated add-ons and unnecessary crap that you will never use and these will slow down your Kodi box and make troubleshooting problems impossible.
We only provide support for your add-ons if you install them from the official repositories which are listed in all of our install guides. Troubleshooting all of the potential issues that arise from custom builds and non-official sources is simply too hard.
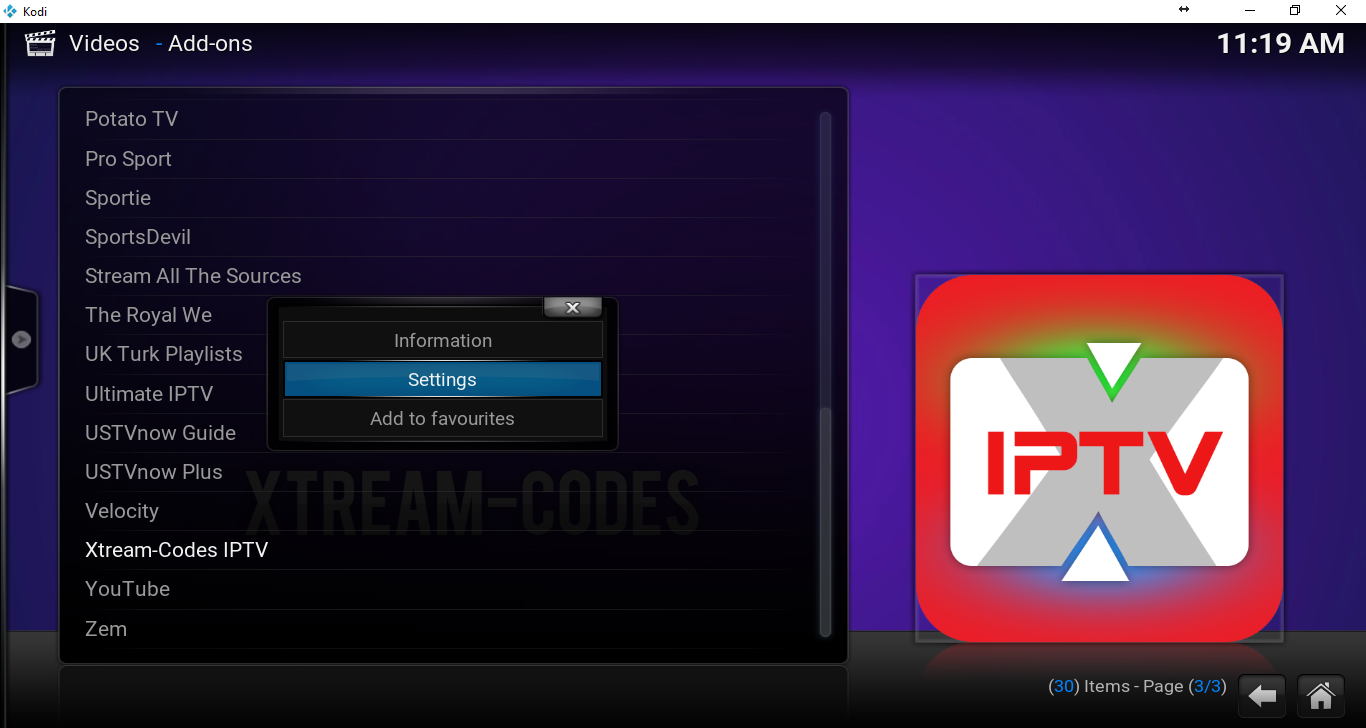
Step 3: Installing Kodi Add-ons
You may have heard some heat on Kodi in the news lately over the use and access to questionable grey area content. For that reason, we put Kodi addons into two separate categories: official content and third-party sources.
Official Kodi addons only contain content from 100% verified sources. They are confirmed to be legal in 100% of locations around the world.
Third-party Kodi addons contain grey area content that cannot be verified from official sources. This does not mean that there are any legal restrictions to viewing content from these addons. It means that rules and regulations may change from country to country.
One thing that is fact is that Kodi addons themselves do not host any content. They simply look for and retrieve media files found on the public internet.

We have no control over and do not host or upload any video, films, media file, or live streams. KodiTips is not responsible for the accuracy, compliance, copyright, legality, decency, or any other aspect of the content of streamed from your device. If you have any legal issues please contact the appropriate media file owners or host sites.
With that out of the way, which Kodi addons should you install? Which work the best? We’ve compiled a monthly best Kodi addons that we keep up to date constantly.
It is truly impossible to pinpoint what the best addon for YOU is. Addons pull content from the internet from sources located in different countries and areas. The server you connect to may be fast or slow for you based on your country. As well, some internet service providers in certain countries block some sources in your Kodi setup. If this is true for you, we recommend signing up to a VPN and making yourself appear from a different location in order to access geo-blocked content.
Optional Kodi Setup Guide Tips & Tricks
There are some further Kodi setup guide tips and tricks that you may want to configure in order to improve your experience. All of these steps are completely optional and are dependent on your preferences.
Kodi Zoomed In Screen Fix
Does your Kodi screen look a little zoomed in, cutting off some text and menus? This is a common problem depending on your Kodi setup and is very easy to fix!
- From the main menu, navigate to SYSTEM > Settings > Appearance
- Click on your “Settings Level” until it is set to either the Advanced or Expert level.
- Under the “Skin” section, scroll down until you see the “Zoom” field and set this to your liking. Generally, -4% works well.
Setup A VPN Service
A VPN service helps you hide the traffic from your Kodi box. While streaming content is not illegal, some internet service providers are trying to block users from excessive content. As well, many of throttling user’s internet speed if they watch too much.
A VPN service like NordVPN or IPVanish can help you hide your identity on the internet. It can make your Kodi box appear as if it is in any country, which is handy for accessing content which may be geo-blocked in your area.
The cost of a premium VPN service like IPVanish or NordVPN is about as much as a Starbucks Coffee per month.
Real-Debrid
Real-Debrid is a premium paid service that gives you unfiltered access to some of the best and fastest web hosting websites. Kodi add-ons that use Real-Debrid hosts give you faster and higher quality streams than free ones do. The cost for Real-Debrid is about $3 per month. If you would like to read more information, click here to go to our feature page on Real-Debrid.
LazyTV
LazyTV is a great program add-on that makes watching TV shows on Kodi way easier. Two of the main features of Lazy TV are:
- Automatically get prompted to watch the next TV episode after watching in an add-on like Genesis or SALTs so that you don’t have to manually select the next episode.
- Set certain shows in your library to “randomize” so that you can lazily watch a random episode of a TV show without manually having to choose. I set certain sitcoms like Friends or Seinfeld in this mode where the storyline of the show is not that important.
To install LazyTV, follow our instructions guide here.
TV Show – Next Aired
The Next Aired program add-on for Kodi presents all of the shows saved to your library in a TV Guide table format so that you can see what days new episodes air! This is great for keeping up to date
How to Reduce Buffering in Kodi
Buffer in Kodi can be a result of your connection or the connection of the sever you are connecting to. If order to ensure that the issue is not on your side, the following is recommended:
- 5mbps internet connection or better.
- Hard-wired Ethernet connection to your home network
If your Kodi box is using wireless internet, you are going to receive 10x or worse latency compared to a wired connection and you will always see additional buffer, especially with live content.
For more advanced users, there is a utility that can help you reduce buffer further. You can read the details about this fix to reduce buffer by clicking here.
Understanding How Kodi Addons Work
It is important that you understand how Kodi addons work so that you have a good understand of whether or not your problem is for real or not. We’ve created a guide for explaining how addons work, which you can read by clicking here.
Other Kodi Frequently Asked Questions (FAQ)
We’ve compiled a bigger list of frequently asked questions and pain points from Kodi users. If you are having some issues, check out our FAQ at this link for more information.
Do you have any more Kodi setup tips and tricks for first time users? Let us know on Facebook and Twitter today!
Kodi can be easily installed to any Mac computer in a matter of seconds. All you need to do is download the Kodi for Mac application and then drag it onto your computer. You’ll find the Kodi interface to be the exact same on every platform, so running Kodi on your Mac will look identical to any other Kodi device you may have previously used.
Kodi is compatible with any Mac computer manufactured within the past eight years. It runs very efficiently and does not use up too many processing power, meaning you can run Kodi alongside other Mac applications without a hiccup. Kodi for Mac is a great way to enjoy online streaming from your home computer, you could probably even connect Kodi for Mac to your TV set.
Current Version: 18.5 Leia
Step 1: Launch the kodi-18.5-Leia-x86_64.dmg file that you just downloaded, then drag the Kodi app into the Applications folder as instructed.
Step 2: Launch the Kodi application from the Launchpad on your Mac. The first time you try to launch Kodi, you’ll likely be prompted by a security warning.
Step 3: Click on the little Mac icon at the top left corner of your screen, then navigate to the System Preferences menu.
Step 4: Click on the Security & Privacy icon.
Step 5: Click on the Open Anyway button at the lower right of the window, Kodi will now launch for the first time.
Next thing you’ll want to do is go ahead and add our Fusion Installer and then install our Indigo tool, which will help you configure your Kodi addon setup.